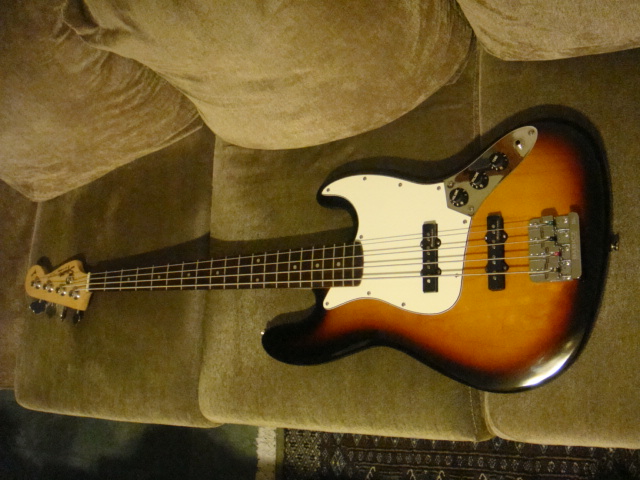
My Squier Jazz Bass is actually my very first electronic instrument purchase. Manufactured in Korea in 1996 and bought that very same year, this was one of the already better quality Squier (Fender) products purchased in an era before all manufacturing shifted to China. This project will take this beginner’s bass which was worthless for recording and upgrade it with USA made electronics.
I had tried a few times to record the Jazz Bass, by direct and with my Johnson J-Station, but it never sounded good. Although with good action, mechanically sound and setup properly with new strings, there just wasn’t any punch, sustain or good Fender Jazz bass tone. So, in July 2011 I decided to pull off this upgrade that would include a good set of new pickups, an all “made-in-USA” electronic parts kit, and a third party after market bridge to provide additional sustain.
Parts for this upgrade:
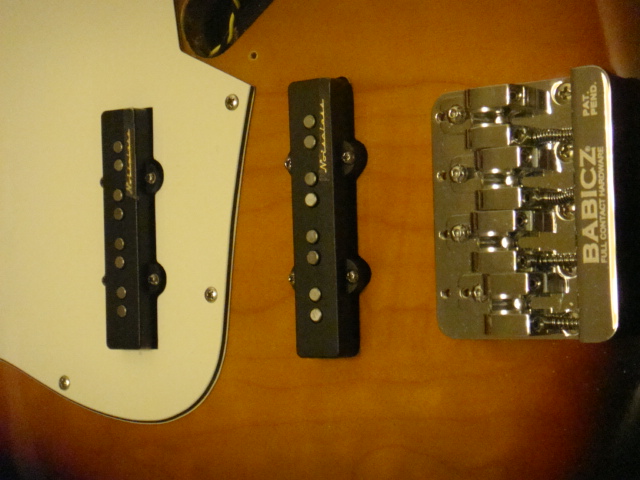
Fender Vintage Noiseless Jazz Bass Pickup Set 116.18USD from Musician’s Friend
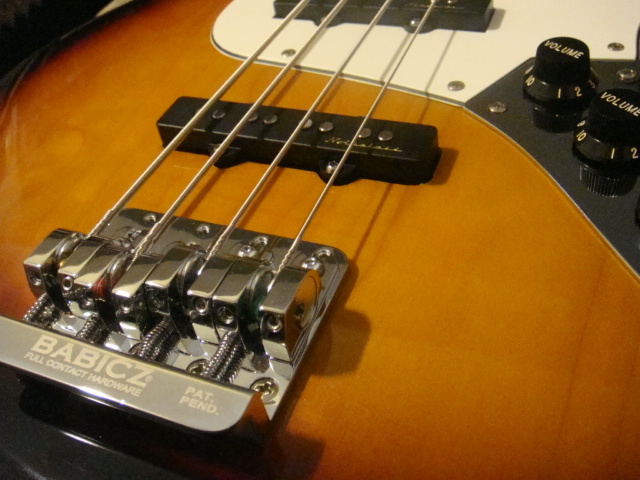
Babicz Full Contact Hardware 4-String Fender-Style Bass Bridge Chrome 89.95USD from Musician’s Friend
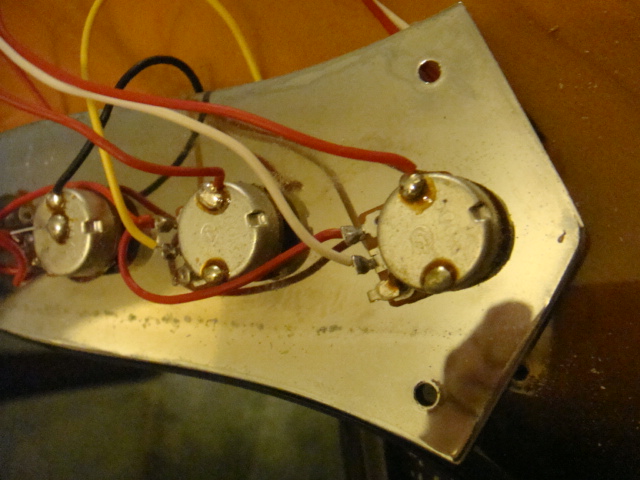
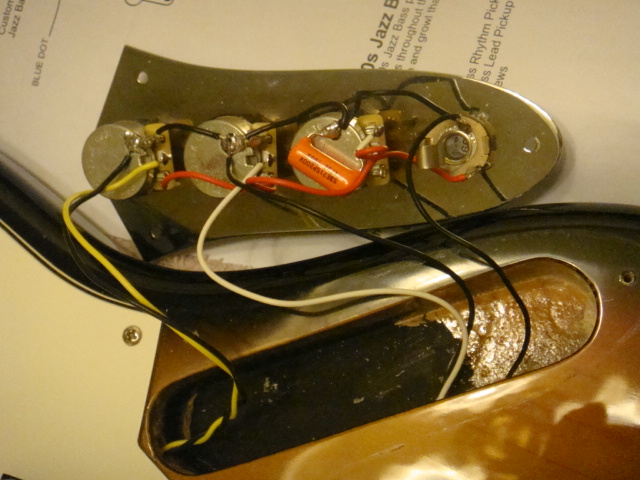
Jazz Bass Guitar Electronics Super Kit w/ CTS Pots 21.95USD from Guitar Electronics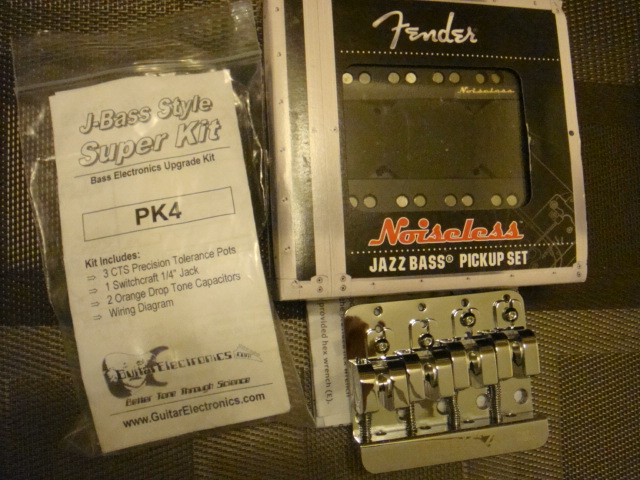 First, take off the strings and the control knobs. Next remove the three screws that hold the chrome plate with the controls and the 1/4″ output jack. This will reveal the smaller style (12mm) POTs, the cheap polyester drop capacitor and all the wiring from the two pickups and the bridge ground wire.
I didn’t care how the stock wiring was and just started un-soldering everything until the pickups were separated and I had a pile of small wires. Removing the nuts holding the three POTS and the 1/4″ phone jack, leaves a bare piece of chrome plated steel. Remove the pickup guard, both pickups with wiring, and the bass will be empty of all electronics and wiring except for the grounding wire to the bridge.
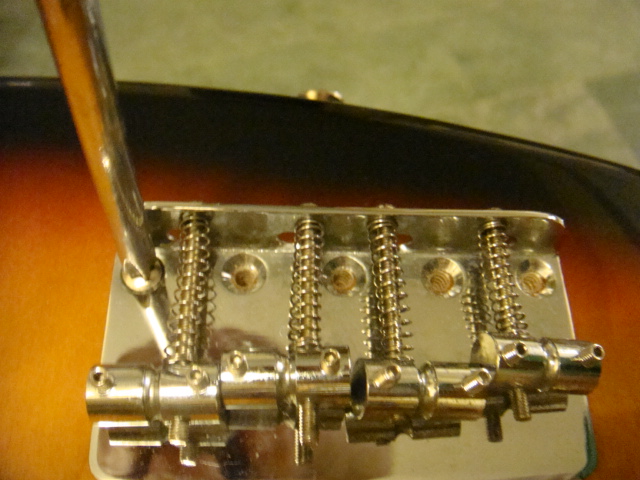
I wanted to get the simple mechanical stuff out of the way, so that meant tackling the bridge replacement first. The old Fender style bridge removes easily as all five (5) screws are accessible. Comparing the original screws with the new ones supplied with the new bridge, I found a different pitch to the threads. So, the right choice here is to use the original screws on the new bridge. This will avoid weakening the wood threads by cutting them up with the new screws with different thread pitch.
The new Babicz bridge requires some dis-assembly (removing the intonation adjustment screws and swinging the saddles out of the way) so the screw holes are clear of obstructions. Don’t lose any parts.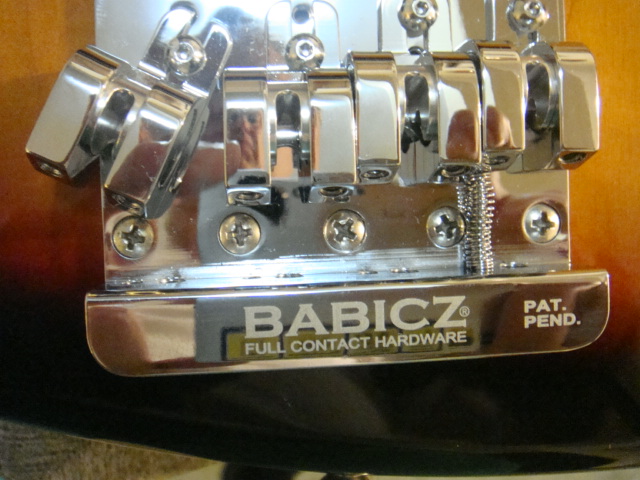 Make sure the ground wire is still in place, loosely install the two end and center screws, then snug them a little. Put in the remaining two screws. Slowly tightened them tighter and tighter, starting with the center screw, then the next two outer and then final outer two. This provides very even contact and can avoid warping the bridge. Repeat until the screws are all tight (as tight as original).
As this was not my first upgrade project, I checked the POT shaft diameters between the stock “metric” POTS and the new CTS American POTS. Sure enough, the holes were too small for the 3/8″ shafts. So, those holes need opening up to 3/8″ with a good quality 3/8″ drill bit. If you don’t have these tools, find a friend who does.
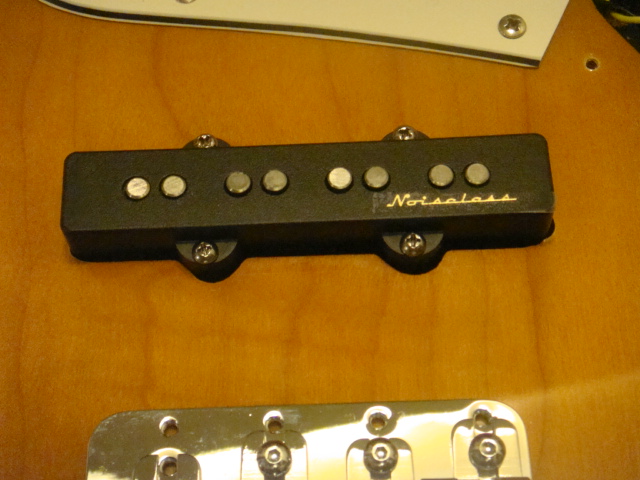
Next, I checked the mechanical fit of the pickups. The wiring diagram with the pickups did not match the pickup descriptions. It seems Fender documentation is really poor, from my experience. Anyway, the bridge pickup is the wider of the two pickups. This makes sense because the string spacing continuously increases from the Nut to the Bridge. So, string spacing is wider at bridge then at neck pickup, making the bridge pickup a little wider. It is too wide to fit the routed slot for bridge in the Squier, but it will fit the neck slot. I seem to remember reading on the Internet that someone installed that way, but not me. I want the neck pickup in the neck position and the bridge pickup in the bridge position.
After measuring, I found that the slot was too narrow by about 5mm. Using a black felt tip marker I drew out an extra 3mm evenly on each side of the pickup hole and routed the hole by hand to make it wider. When I was satisfied with the fit, I cleaned out all the wood chips, and wiped down the bass.
Then, one by one, I threaded the pickup wire through the body to the pool and mounted the pickups. Then I replaced the pickup guard.
The electronics are prepared by first mounting the new pots on the chrome plate. Place the ‘star washers’ on the pot shaft first, slide the shaft through the re-drilled 3/8″ hole, place a flat washer then the nut. Position and hold the pot, then tighten with a nut driver. After mounting the three pots, mount the 1/4″ phone jack.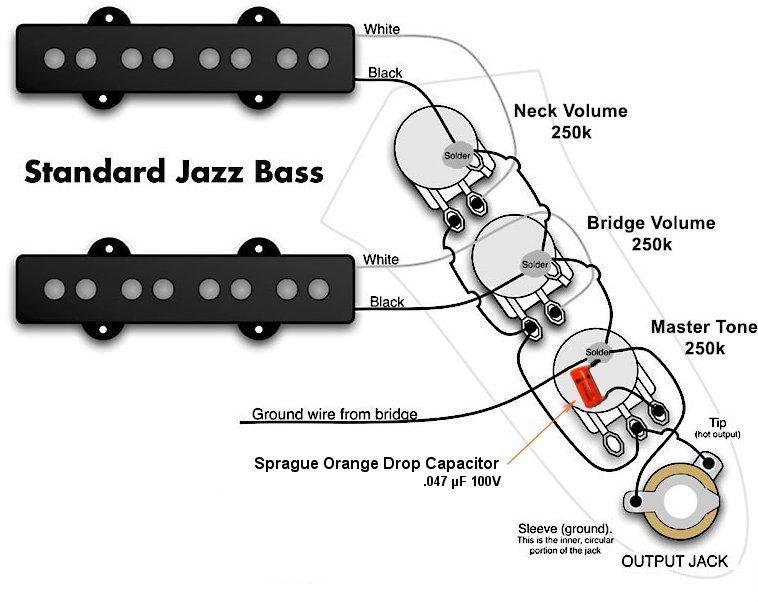
I ran the signal return wire from the 1/4″ jack to the closest POT body (master tone) and ran grounds from that pot to the bridge volume Pot then up to the neck volume Pot. I also connected the neck pickup return to the neck volume Pot, the bridge pickup return to the bridge volume Pot and the bridge ground wire to the master tone Pot. The ‘KIT’ had two ‘orange drop’ Sprague capacitors. I used the .047uF for more tone effect. The wiring diagram provided with the Guitar Electronics kit is correct for the American Standard Jazz Bass and I followed it for the pickup signal wiring and tone capacitor.
The last mechanical action is to place the chrome plate back, making sure the wires are not snagged or pinched anywhere, and return the three screws to the mounting plate. Follow by turning all Pots full counter-clockwise and place the knobs indexed at 1.
Now, for a quick electrical check, plug in your amp with low volume setting. Bring up only the Neck volume pot, use a screw driver to tap the neck pickup on a pole piece. You should hear the pickup. Tap the bridge pickup and you should hear nothing. Bring the neck volume all the way down and bring bridge volume up. Repeat the test, make sure only sound comes from the bridge pickup. Check the tone control at 10 it should have bright, unaltered sound, and at 1 setting, a dull sound as the treble has been cut, when tapping the bridge pickup.
String the bass and do a very rough tuning so that full tension is on the neck. At this point I put the bass back in the case to sit for a day before doing my final setup. I don’t like to mess with the truss rod too much, so I wanted the tension on the neck to ease it back to stability for at least a day.
The next day I used the official Fender instructions to check the neck concave and adjusted the truss rod per factory specification. Then I adjusted the string height on the new Babicz bridge also to Fender Jazz Bass factory specifications (maybe just a tad lower). The last part of the setup was to check and adjust the intonation and lock down the adjusters on the Babicz.
It was a few weeks before I actually brought the bass out to record. I did a tune up, rechecked and did some more minor intonation adjustment. I plugged into the J-Station, selected the Ampeg amp modeling with clean setting, turned up both pickups and then went ‘ooooohhhhh’. I was hearing a Fender Jazz Bass sound from my Squier for the first time. Again I proved to myself that pickups are everything when it comes to getting good electronic instrument sound. Just like my previous two projects of fitting genuine Fender Noiseless pickups in Squire Stratocasters, I had taken a beginner’s low budget instrument and given it professional sound.
For this Jazz Bass upgrade, the 230USD and time spent had a great payoff, my previously un-recordable Squier Jazz Bass now sounds almost like his very expensive American made cousin.
